Unlocking the Power of Zoom Automated Webinars for Your Business
A webinar is an interactive, live event. However, producing a simulated live experience is now available with webinar tools like Zoom. After registering for the Zoom automated webinar, participants can enter the room.
Learn everything about automating webinars using Zoom.
INDEX
How to Use Zoom for Your Next Webinar
- Set up Zoom
- Automate Registration
- Schedule On-Demand Webinar
- Record Your Webinar
- Edit and Share
- Schedule a Recurring Webinar
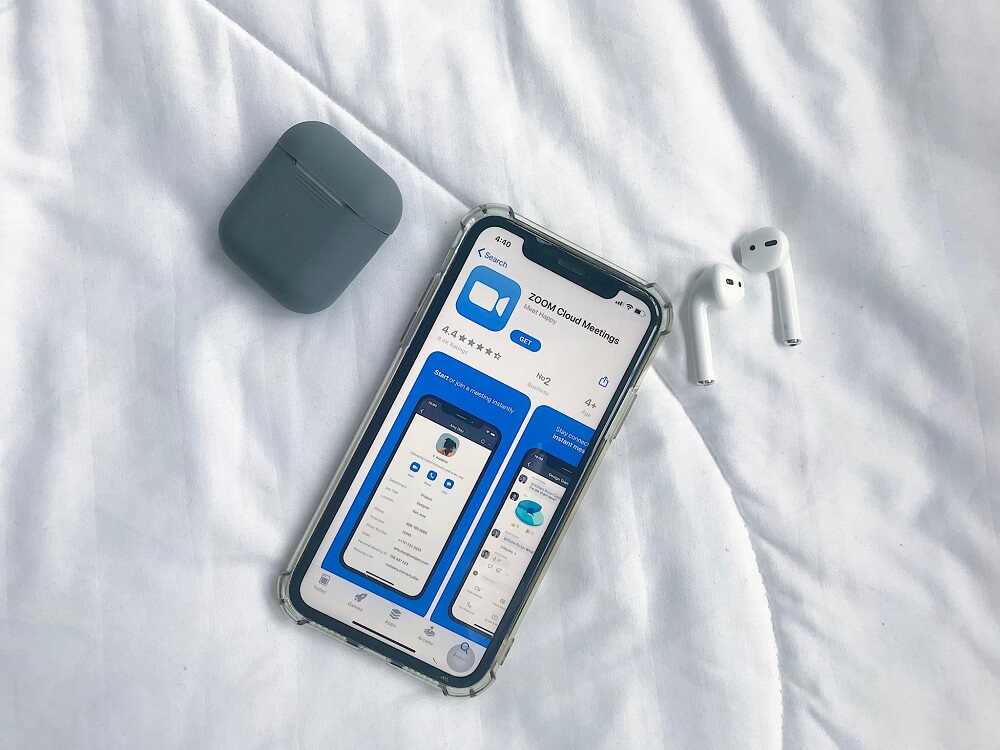
What is Zoom?
Zoom is a platform that enables users to interact via video, audio, phone, and chat. This tool is user-friendly and can be used for:
- Business meetings
- Conferences
- Online classes
- Training sessions
- Webinars
- Live events
- Virtual team collaboration
- Socializing with friends and family
How to Use Zoom for Your Next Webinar
Here are ways to use this webinar platform.
Set up Zoom
To start with, simply follow these steps:
- Visit the Zoom website.
- Click on “Sign Up, It’s Free.”
- Follow the given instructions to enter your email address and personal details.
- To host or join meetings, you’ll need the Zoom application. Click on “Resources” in the Zoom website’s menu.
- Select “Download Zoom Client” and choose the version that matches your device’s operating system.
- Follow the installation instructions to complete.
- Once the Zoom Client is installed, open the application.
- Sign in using your email and password.
- Click on your profile picture within the Zoom app.
- Select “Profile” to personalize your Zoom account. You can upload your picture, update your display name, and provide additional information.
Automate Registration
Over the past few years, hosting a webinar session has been routine for most businesses. Users must register for a Zoom webinar with details on a Zoom landing page.
Tips to consider:
- Schedule webinar Zoom sessions.
- Promote and attend Zoom webinars using in-app, push, and email communication channels.
- Include a call-to-action button that automatically registers users for the webinar.
- By clicking a button within an email, push notification or in-app message, it is possible to achieve this by using the Zoom APIs to instantly add a user to a webinar.
- Replace the webinar ID in the API request when using the next endpoint.
Schedule On-Demand Webinar
With your Zoom account set up, you can now schedule or join on-demand webinars.
Some steps include:
- Sign in to the Zoom website.
- Click “Webinars.”
- Then, you can now schedule a new webinar or edit an existing webinar.
- Select the “checkbox” in the Registration section.
- Under webinar options, click “Make the webinar on-demand.”
- Click “Schedule for a new webinar/Save for an existing webinar.”
Record Your Webinar
It’s a smart habit to record those sessions for future use if you’re holding a Zoom webinar with several webinar attendees. To ensure everyone is on the same page, you can record using your device or the Zoom cloud.
Some steps to follow:
- Begin by hosting or joining a webinar on Zoom.
- Once your webinar starts, look for the “Record” button in the Zoom toolbar.
- Click on the button to record. If you’re the Zoom webinar host, you should see options to record to your local computer or to the Zoom cloud.
- Choose your preferred recording location.
- To pause, stop, or continue recording, use the pause, stop, and start buttons.
- Stop recording after your webinar is over, and make sure that any recordings are stored on your device or the cloud.
- Download your video file from the ‘Recordings‘ menu in your Zoom web portal if you have uploaded your recordings to the cloud.
The default location for local recordings on your PC is your Zoom folder. As an alternative, you can use a specific location on your computer before recording to keep recordings.
Edit and Share
After the webinar, you can edit the recorded file if necessary. You may want to trim the beginning or end, add captions, or make other enhancements. You can use video editing software for this purpose.
Once your recording is done, you can share it with anyone. Simply upload your video-sharing platform on your website or send it directly to participants for on-demand viewing.
Schedule a Recurring Webinar
Here are steps to schedule a new recurring webinar:
- Sign in to the Zoom web portal.
- In the navigation menu, click “Webinars.”
- Click “Schedule A Webinar.”
- Enter a webinar topic or your description.
- Choose the exact time zone and duration of the first webinar.
- Select the “Recurring webinar” check box.
- Choose the “Recurrence” option.
- Choose Daily, Weekly, Monthly, or No Fixed Time.
- Then, specify the End Date or whether registration is required.
- Specify also the audio, video, and other webinar options.
- Click “Schedule.”
- Click “Show all occurrences” to display all of the webinar times.
With all of these steps and tips, you can ensure that you can utilize Zoom events to achieve your goals. This platform can help you in marketing and other business matters.
Wrap-Up
Effective communication within in-office teams faced significant challenges. However, leveraging a video recording tool can improve collaboration.
Simply follow the steps outlined to guide you in creating Zoom automated webinars. It’s also best to consider another automation software.
Related Posts

What Social Media Analytics Actually Tell You – and What They Don’t
July 13, 2026If you work in data, you have probably watched a marketing team ...

Best 7 Revenue Intelligence Solutions for Technical Sales Teams
June 26, 2026Technical sales teams operate in a fundamentally different environment than most B2B ...

5 Best Social Intelligence Tools for 2026
June 15, 2026Social intelligence has become one of the most important capabilities for brands ...

The 2026 Data Observability Vendor Database: 20+ Platforms by Founding Year, Funding, Hosting, and Pricing
June 12, 2026The data observability market has evolved rapidly over the past five years. ...

7 Top Autonomous AI Pentesting Platforms in 2026
June 10, 2026Autonomous penetration testing is becoming one of the most important changes in ...